1. Switch to the Manual tab
Click Add knife at the top of the sidebar, then click the Manual tab:
The URL field is replaced by the full form:
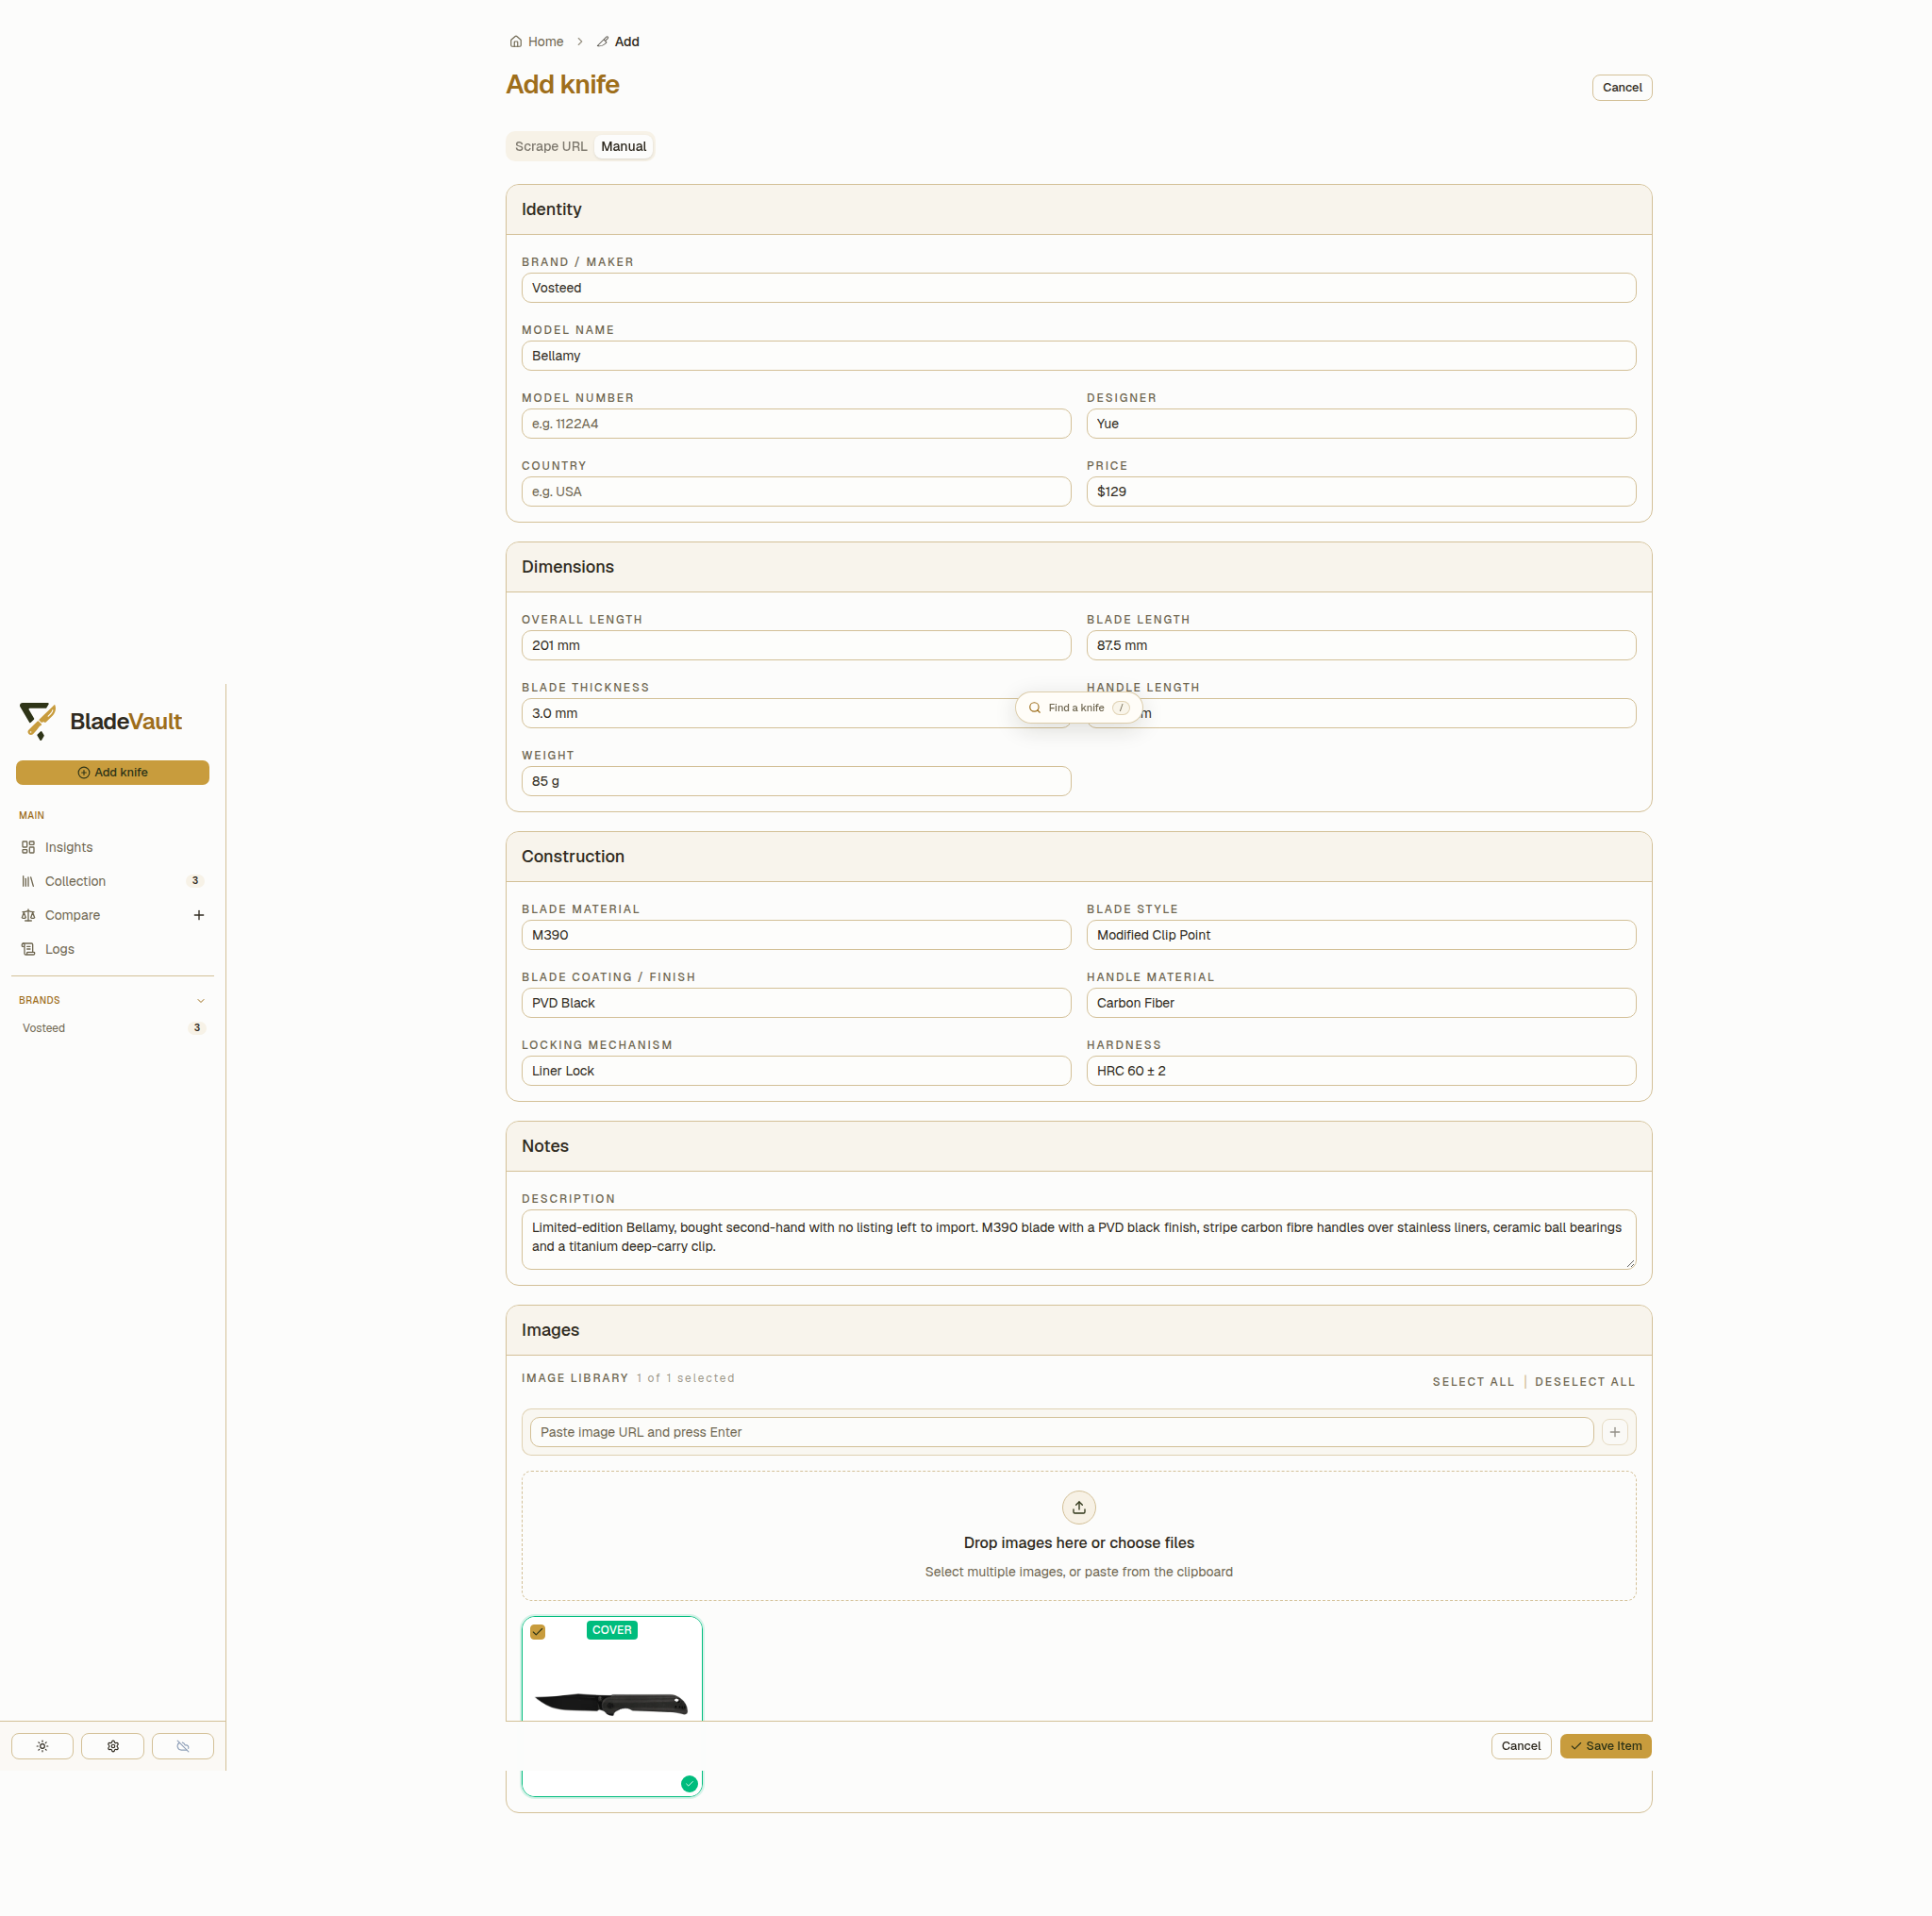
The form groups fields into Identity (brand/maker, model name, model number, designer, country, and price), Dimensions (overall length, blade length, blade thickness, handle length, and weight), Construction (blade material, style, coating, handle material, locking mechanism, and hardness), Notes, and Images.
2. Fill in what you know
Enter each measurement with its unit, as stated by the maker:
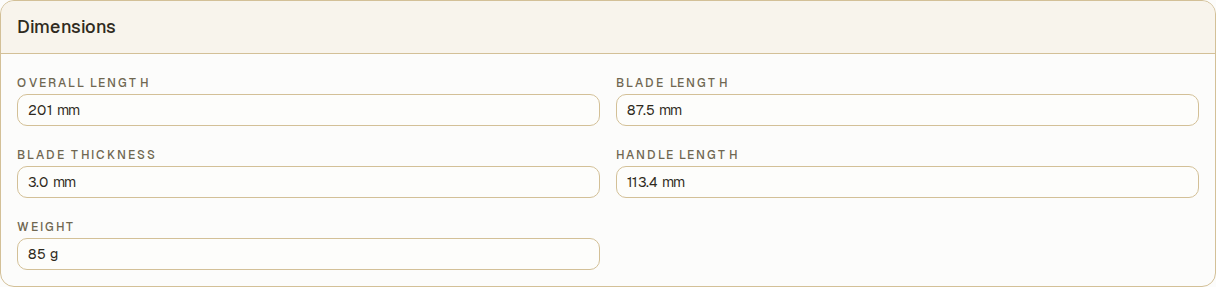
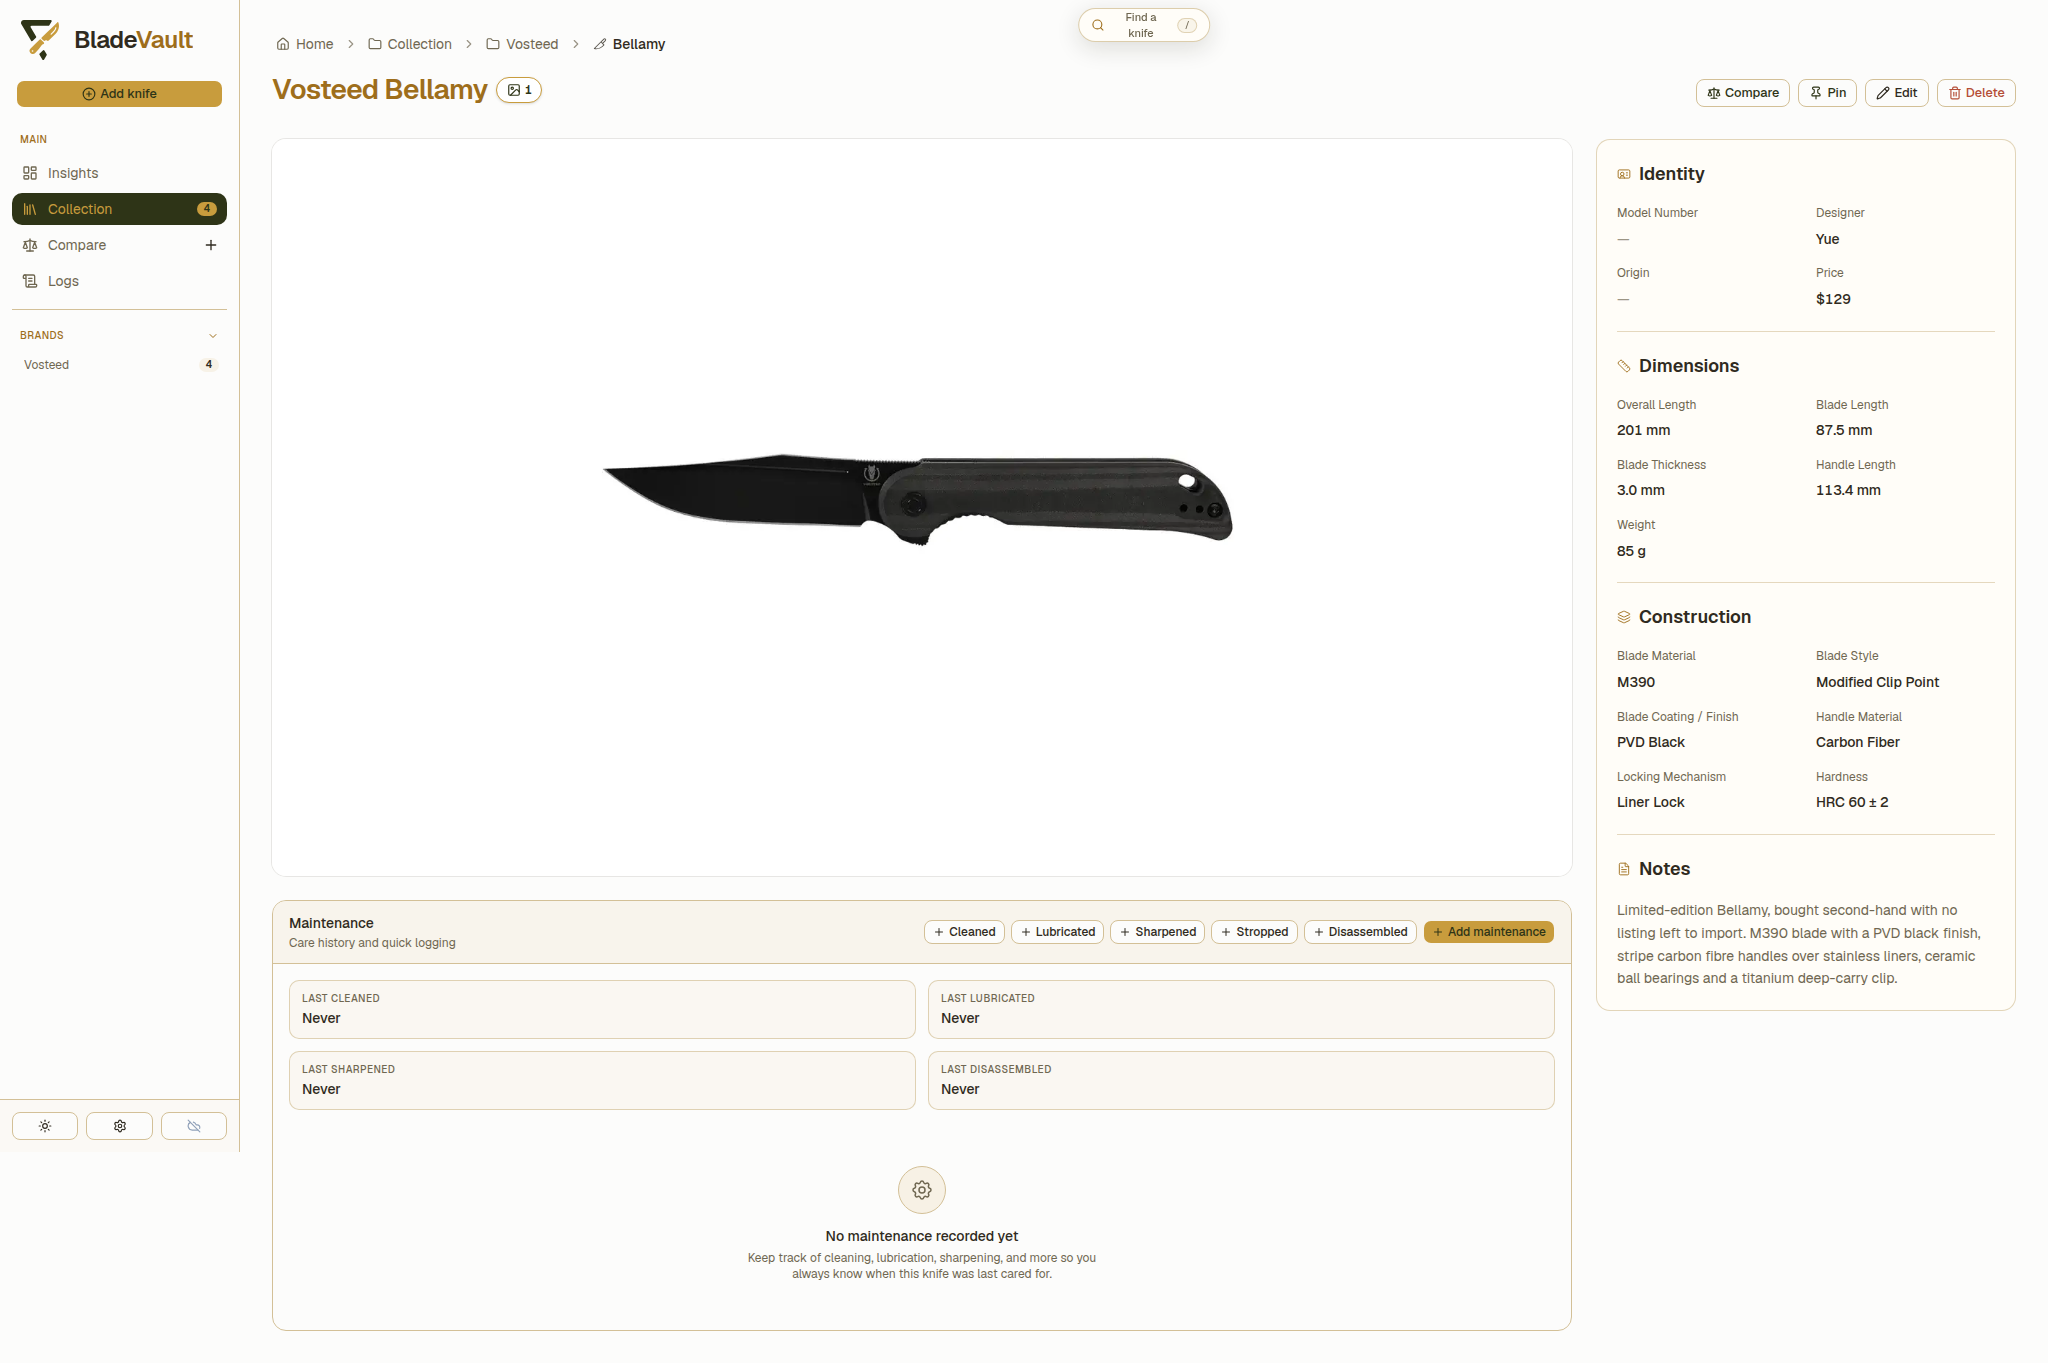
Only a name is required. Leave unknown values blank so the record does not imply that they have been verified. The Bellamy above has no model number or stated country of origin, so both fields stay empty.
3. Add images
Under Images, paste an image URL into the field and press Enter or click the + button; dropping files onto the dashed area works too:
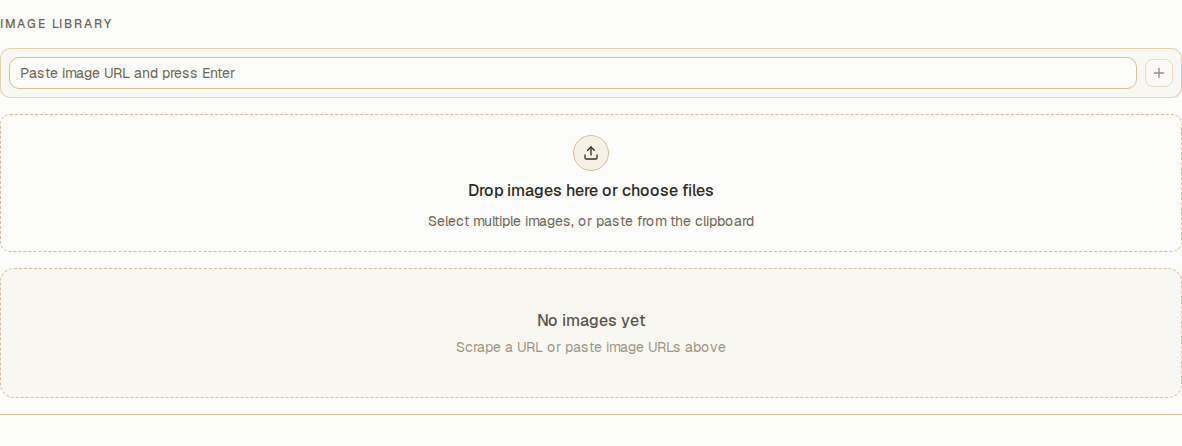
Images are stored in your vault with the record and included in ZIP backups and cloud backups. They remain available if the original website removes them.
4. Save the knife to your collection
At the bottom right of the form, click Save Item:

Save Item saves the record and returns you to Collection. You can then edit, compare, or pin the knife, log maintenance, and find it through search or a Smart Collection.
5. See the saved knife
Click the new knife's card in Collection, then choose Open full page → in its preview to review its details:
Which route to use
- Import from a URL when a product page describes the knife. See Add a knife from a product URL.
- Enter it manually when there is no suitable page, or when you only want to record a few details.
Next
- Add several knives at once — batch scrape a list of links.
- Add and manage custom fields — store details beyond the built-in specifications.
- Organize your collection — cards, filters, and Smart Collections.